I recently was given a "hand-me down" table & chairs from my oldest sister & it had seen better days and needed some sprucing up! So I after I gave her a solid coat of white paint, it still needed something else.....Cushions! 
I decided to make my cushions out of a charm pack. What is a charm pack? It is a pre-packaged set of 5x5 square of a fabric line that you can get for anywhere from $8-$15 at local fabric stores or online fabric stores. This works perfectly for the patchwork look & elimnates alot of the work! :-)
Here's the supplies for my charm pack cushion project:
- One charm pack with at least 40 pieces (I used Hunky Dory from Moda)
- 1 yard of 1/2 foam (best to wait when on sale or use coupon! :))
- 1/2 yard Solid backing fabric
How to make:
First lay out your charm pack squares and select 16 squares (4 squares per cushion) to be the top of your cushions. Arrange them around in the way that you would want the top of each cushion to look.
Then sew together top 2 squares & bottom 2 squares then attach both rows together & you will have the top of your cushion. Repeat more times to complete all 4 tops. (Sorry I forgot to take a picture of this step!)
For the straps, you will use 24 squares (3 for each strap). Cut all 24 squares in half (2.5x5in). Then you should arrange the fabrics as you wish and piece 3 half squares together. Repeat process 15 more times. You should have 16 straps (4 for each chair).

After you piece the pieces together, fold in half, right sides together & sew along the top & side, leaving the bottom open. Repeat 15 times, then sit with your favorite movie on, using a pencil or favorite turning tool & turn each strap inside out & press.

You then need to cut out your back pieces from your solid fabric (9.5x9.5 in)
Lay patchwork top up then lay straps in the top corners about an inch from the side and inch from the top, then lay solid fabric down & sew around using a 1/4 in seam allowance. You should leave a 2 in. opening in the back to insert your foam.

After you have sewn all 4 cushions together, turn right side out & press. Insert foam & hand stitch opening closed. You should come out with cushions that look like this! :-)
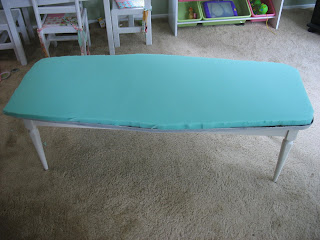
So here's the before....

And here's the after: 
A fresh new look that I love! 

~Stacy


 and it came out like this:


 So for about $2-3 I made a super fun initial platter to hang over her bed!